Exchanges & Wallets
A Beginner’s Guide to Setting Up a MetaMask Wallet
To truly explore the expansive world of Web3—including decentralized applications (dApps), DeFi platforms, and NFTs—you need more than just a standard cryptocurrency exchange account. You need a personal gateway that allows your browser to interact directly with the blockchain. For millions of users, that gateway is MetaMask.
MetaMask is the world’s leading non-custodial browser wallet, primarily for Ethereum and other compatible blockchains. Setting it up is your first major step into the world of self-custody and decentralized finance.
This guide will provide a safe, secure, step-by-step walkthrough of how to install and configure your first MetaMask wallet.
CRITICAL SECURITY WARNING: Your first and most important step is to ensure you are downloading MetaMask ONLY from its official website. Scammers create fake websites with malicious versions of the software designed to steal your funds.
What is MetaMask?
In simple terms, MetaMask is a cryptocurrency wallet that runs as an extension in your web browser (like Chrome, Firefox, or Brave) and as a mobile app. It serves several key functions:
- It’s a Wallet: It allows you to store, send, and receive cryptocurrencies.
- It’s a Keychain: It securely manages your private keys on your own device.
- It’s a Login: It acts as a secure login system for the decentralized web, allowing you to connect and interact with dApps without needing a separate username and password for each one.
Most importantly, MetaMask is a non-custodial wallet, meaning you—and only you—have full control over your private keys and your funds.
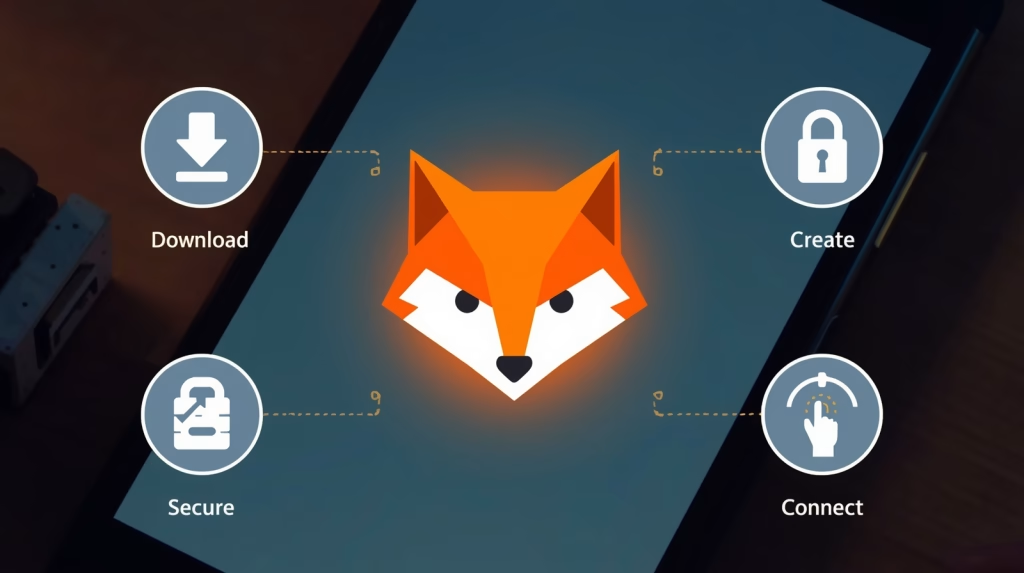
Step 1: Installing the MetaMask Extension
This is the step where you must be most vigilant.
Go to the Official Website ONLY
Open your browser and manually type in the official URL: metamask.io. Do not use a link from a search engine, as malicious ads can sometimes appear at the top of the results. The official website is the only guaranteed safe source.
Add to Your Browser
On the homepage, click the “Download” button. The site will automatically detect your browser. Click “Install MetaMask for [Your Browser Name]”. This will take you to your browser’s official web store. Click “Add to [Browser]” and confirm any permissions the extension asks for.
Step 2: Creating Your New Wallet
Once the extension is installed, a new tab will open with the MetaMask welcome screen.
- Click on the “Create a new wallet” button.
- You will be asked to agree to some terms of use.
- Next, you will need to create a strong password. This password is used to unlock your MetaMask wallet on the specific device and browser you are using. It does not protect your funds if someone gets your master key. Create a long, unique password and store it in a secure password manager.
Step 3: Securing Your Secret Recovery Phrase (The Most Important Step)
This is the most critical part of the entire process. MetaMask will now generate your Secret Recovery Phrase (also known as a seed phrase). This 12-word phrase is the master key to your wallet.
Think of it this way: The password you just created locks the front door of your house (the app on your computer). The Secret Recovery Phrase is the deed to your house; with it, anyone can claim ownership and unlock all the doors.
The Critical Security Protocol
Before you click to reveal the phrase, get a pen and a piece of paper.
- Watch the short introductory video about the recovery phrase.
- Click “Secure my wallet.”
- Click “Reveal Secret Recovery Phrase.”
- Write down the 12 words on the paper, in their exact order. Number each one from 1 to 12.
- NEVER store this phrase digitally. Do not take a screenshot, save it in a text file, email it to yourself, or store it in any cloud service. If your device is hacked, your funds will be stolen.
- As we detail in our wallet security guide, this phrase should be stored in a secure, offline location, like a home safe.
Confirming Your Phrase
On the next screen, MetaMask will ask you to confirm your phrase by clicking the words in the correct order. This is to ensure that you have written it down correctly. Once confirmed, your wallet setup is complete.
Step 4: Understanding the MetaMask Interface
You will now see your main wallet dashboard. Here are the key elements:
- Your Account Address: At the top, you will see your public address, which starts with “0x…”. Click on it to copy it. This is the address you share with others to receive funds.
- Asset View: This is where you will see your token balances, starting with ETH.
- Network Selector: In the top-left corner, you will see “Ethereum Mainnet” by default. This dropdown allows you to connect to other compatible blockchain networks (like Polygon, Arbitrum, etc.).
- Send/Receive Buttons: Use these buttons to initiate transactions.
Next Steps and Best Practices
- Funding Your Wallet: To start using your wallet, you’ll need to send some Ether (ETH) to it from an exchange where you’ve purchased it. Simply copy your MetaMask public address and use it as the “withdrawal” address on the exchange.
- Connecting to dApps: When you visit a website that supports Web3 integration (like a DEX or an NFT marketplace), you will see a “Connect Wallet” button. Clicking this will prompt MetaMask to ask for your permission to connect.
- Hardware Wallet Integration: For the highest level of security, you can connect a hardware wallet like a Ledger or Trezor to your MetaMask interface. This allows you to use the convenient MetaMask interface while ensuring your private keys remain securely offline on your physical device.
Conclusion: Your Gateway to the Decentralized Web
Congratulations! You now have a secure, self-custody wallet that serves as your passport to the world of Web3. MetaMask is an incredibly powerful tool, but with great power comes great responsibility. By diligently protecting your Secret Recovery Phrase and practicing good security hygiene, you can safely explore the exciting frontier of decentralized applications.